Monument Photography: Beyond the Tourist Cliché
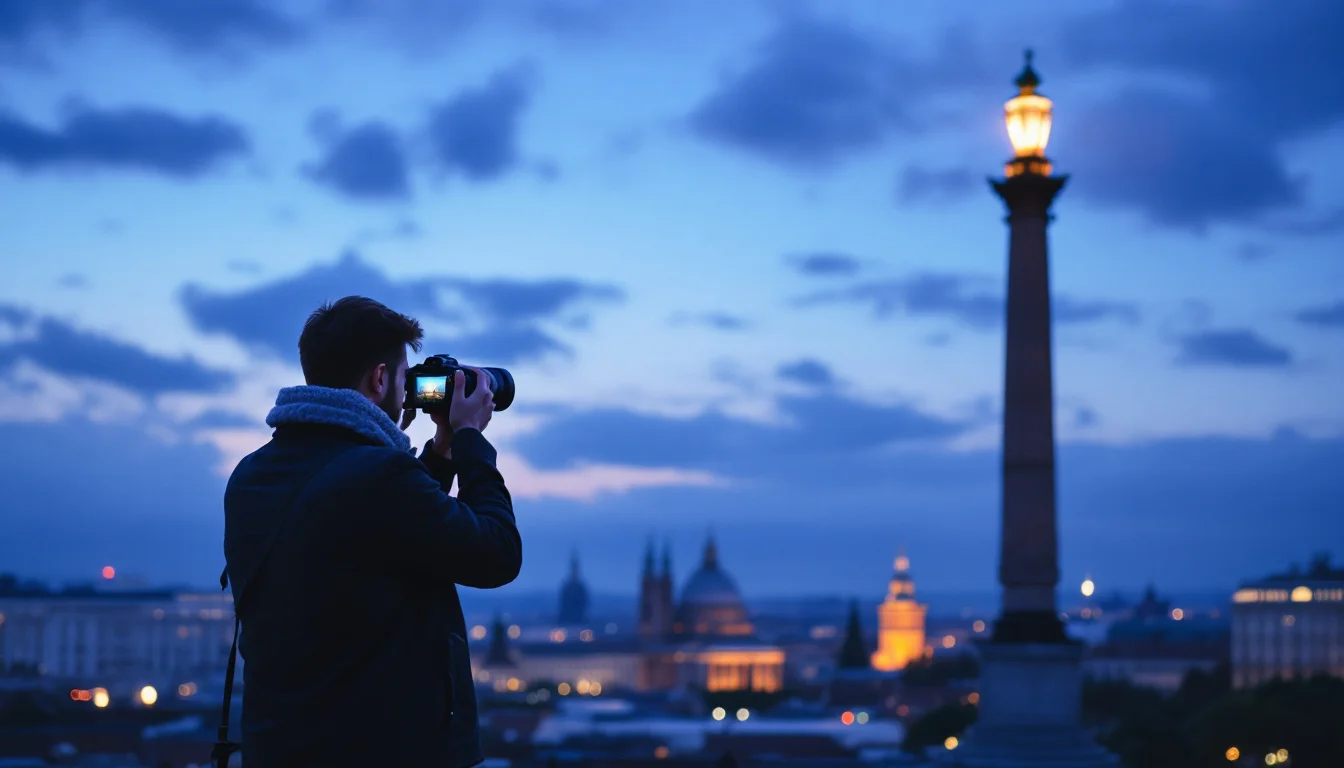
The classic postcard angle is repeated by nearly everyone who visits, pointing their cameras at the world's most recognizable monuments and yielding identical images. Breaking free from this cycle of generic architectural replication requires more than just high-end gear; it demands a fundamental shift in how a photographer interacts with space, light, and geometry.
Elevating monument photography from a standard travel snapshot to a compelling narrative relies on strict intentionality. Photographers must actively manipulate physical perspective rather than accepting the immediate view. They must intentionally manage depth of field and exploit the temporal shifts of natural light, such as the fleeting transitions of the blue hour. By understanding the mechanical relationship between focal lengths, physical distance, and exposure times, photographers can capture iconic structural heritage in ways that reveal entirely new dimensions of familiar facades.
Key Takeaways
- Bypass automated smartphone settings: Disabling portrait mode and shooting in RAW preserves critical architectural details.
- Match focal length to the environment: Select super-wide lenses for dramatic distortion or telephoto lenses to isolate distant structural elements.
- Break the eye-level default: Altering physical perspective by shooting from the ground or finding natural frames helps isolate the monument, eliminate distractions, and alter its perceived proportions.
- Exploit temporal lighting shifts: Utilizing tools to track the blue hour, combined with stabilization equipment, unlocks dynamic long-exposure techniques.
The Foundational Reset: Why You Should Turn Off Portrait Mode
Many modern digital devices are optimized for photographing human subjects, prioritizing softened backgrounds and quick, heavily processed output. When applied to historic landmarks, these default settings actively work against the photographer's ability to capture structural integrity. Establishing a proper architectural baseline requires dismantling these automated habits entirely.
Disabling Artificial Depth
For a good-looking phone photo of a landmark, tour operator Contiki (2024) recommends positioning the subject within the frame's grid lines — the perfect tool to stabilize the horizon and ensure a well-aligned shot. However, alignment is only the first step. Contiki (2024) also recommends removing all filters and turning off portrait mode when photographing landmarks.
The reasoning is purely mechanical: in architectural photography, a large amount of the detail is in the background. Whereas a physical lens produces natural optical blur, portrait algorithms destroy this essential texture through a shallow depth of field effect that artificially blurs intricate features like masonry, spires, and distant archways.
The RAW Data Advantage
Beyond disabling artificial blurring, transitioning away from compressed JPEG files is vital for capturing monuments under harsh or uneven natural light. RAW photos retain a wider dynamic range in challenging lighting, making it easier to recover details in highlights and shadows when editing.
By capturing the raw sensor data, photographers ensure that the stark contrast between a brightly sunlit dome and its deep, shadowed porticoes is not permanently clipped. Furthermore, shooting in this format allows for adjusting exposure, contrast, or sharpness without degrading image quality, providing maximum flexibility during the post-production process.
Mastering Spatial Distortion: Which Lens for Which Landmark?
The physical characteristics of a lens dictate how a monument is rendered in two-dimensional space. Choosing the correct focal length is not merely about fitting a large building into the frame; it is about intentionally managing environmental constraints and spatial distortion.
Focal Length Decision Matrix
| Lens Category | Focal Length Range | Ideal Environmental Challenge | Visual Effect on Structure |
|---|---|---|---|
| Super Wide | ~10mm (Crop) / ~15mm (Full Frame) | Highly restricted physical space | Can introduce dramatic optical distortion; surreal, imposing look |
| Wide | 16mm to 35mm | Tight historic streets (e.g., old towns) | Maintains deep depth of field |
| Telephoto | Long focal lengths | Distant architectural details | Compresses space and isolates subjects |
Contextual Lens Selection
Wide lenses with a focal length between 16mm and 35mm usually come with a deep depth of field, allowing most background elements to stay in focus, which is useful when both foreground and background need to be sharp. This optical characteristic is indispensable in dense urban environments. For instance, Contiki (2024) cites Dubrovnik, Croatia as a city that is beautiful but hard to document because of its tight old town streets, making it a case where wide-angle lenses are especially useful for capturing towering limestone walls from narrow alleyways.
Pushing the optical limits further yields a highly stylized aesthetic. According to Digital Photo Mentor, using a super wide lens, such as 15mm on full frame or 10mm on a cropped sensor, provides a completely different look than a normal or telephoto lens, and depending on the optical design, can introduce dramatic spatial distortion. This intentional distortion can make static monuments feel immense and imposing. Conversely, when the goal is architectural extraction rather than environmental inclusion, a telephoto lens is used for closer shots to highlight specific details, even when the monument is far away from you, as noted by LabKorner.
How to Break the 'Eye-Level' Composition Habit
The most common reason landmark photographs feel derivative is a lack of physical movement by the photographer. Digital Photo Mentor notes that the standard perspective of most people is standing at eye level, so looking up high or getting down on the ground automatically makes a landmark photo more interesting. Changing physical elevation immediately alters the relationship between the viewer and the structure.
Managing Proportions and Lines
LabKorner advises that when composing an architectural photo, take into account the environment, the vanishing lines, the perspective, and the proportions; the view angle and the distance from the building impact the final result. A low angle looking up at a cathedral facade will exaggerate its height by forcing the vertical vanishing lines to converge sharply, whereas stepping far back and shooting from an elevated position will preserve more accurate geometric proportions.
Framing and Environmental Space
In heavily trafficked tourist sites, finding an unobstructed view is often impossible. Contiki (2024) suggests finding a natural frame within the photo to focus attention on the landmark, adapting to surroundings that cannot be moved, such as traffic, people, or unpleasant objects, so those elements can be eliminated from the frame. Shooting through an archway or between tree branches effectively masks localized distractions.
Furthermore, the amount of environment left in the shot dictates the mood of the final image. Contiki (2024) notes that more negative space in a landmark photo evokes a sentiment of minimalism and solitude, while a hectic surrounding can create a more dynamic feel. Choosing between isolating a monument against a vast sky or showing it engulfed by bustling city life changes the entire narrative of the photograph.
Hacking Light and Time: Beyond the Midday Sun
Professional architectural photography rarely occurs under the harsh, flat light of midday. Managing temporal shifts—specifically the transition from daylight into twilight—adds profound depth, color, and atmosphere to structural images.
Timing the Blue Hour
According to Digital Photo Mentor, blue hour occurs during twilight—typically a 20- to 40-minute window just after sunset—when the sky is still a deep, rich color and has not yet turned into a completely black void. It also occurs in the period just before sunrise, offering photographers a trade-off between evening artificial illuminations and the quieter solitude of early morning. Timing is key for blue hour. This brief window balances the artificial illumination of the monument with the ambient light of the sky, preventing the structure from floating in an inky black background. To ensure you do not miss this window, a website or app such as The Photographer's Ephemeris can be used to look up sunset times in the area you are travelling to, in order to plan a sunset shoot and then continue into blue hour.
Stabilization and Kinetic Techniques
As ambient light fades, mechanical stabilization becomes mandatory. LabKorner points out that a tripod is a valuable accessory for architecture photographers facing low lighting (which lengthens the necessary exposure time); although the subject is static, the tripod stabilizes the camera and provides sharper images. Photographers should also note that tripod use is often restricted or heavily regulated at popular monument sites.
Once the camera is stabilized for longer exposures, photographers can experiment with advanced kinetic effects. Digital Photo Mentor notes that motion can be added to a landmark photo by intentionally zooming the lens during a long exposure; exposures ranging from a fraction of a second to several seconds can be used for this technique. This "zoom burst" creates a vivid streak of light leading toward the center of the frame, injecting intense energy into an otherwise stationary subject.
Dramatic Artificial Lighting
When blue hour fades entirely into night, ambient light alone may no longer be sufficient to capture the textures of the stone or metal. If you photograph a monument at night, LabKorner advises using an off-camera flash, which can add a dramatic effect and give a monumental or theatrical dimension to the site, allowing photographers to sculpt shadows exactly where they want them.
FAQ: Solving Common Landmark Photography Problems
How do I ensure all details on a sprawling monument remain sharp?
To capture a landmark in its full context, a narrower aperture (a higher f-number) is generally recommended. This optical technique creates a deep depth of field so the subject is uniformly sharp and its finest details and contours are revealed, preserving essential background textures rather than blurring them.
How do I control the aperture setting manually?
Aperture is measured in f-stops (the ratio of focal length to aperture diameter): the lower the f-stop, the more light the camera lets in, which brightens the exposure if other settings remain constant; the higher the f-stop, the less light enters the lens, according to Contiki (2024). To achieve the deep depth of field mentioned above, you must dial your camera to a high f-stop number, which physically narrows the iris of the lens.
Do I strictly need a DSLR to photograph heritage sites?
While optical manipulation of depth of field requires interchangeable lenses, modern devices can still succeed if properly configured. Equipping mobile lens attachments, locking manual exposure, and switching to RAW formats ensures dynamic range is preserved and allows for compelling structural captures even without heavy, specialized gear.
Conclusion
Developing a disciplined, intentional approach to landmark photography transforms the act of documentation into an exercise in architectural preservation. When photographers dictate their own optical parameters and temporal lighting conditions, they challenge the homogenized visual culture surrounding famous monuments. If these techniques spread, the visual record of heritage sites becomes more varied, ensuring these historic structures are continually reinterpreted rather than merely consumed.